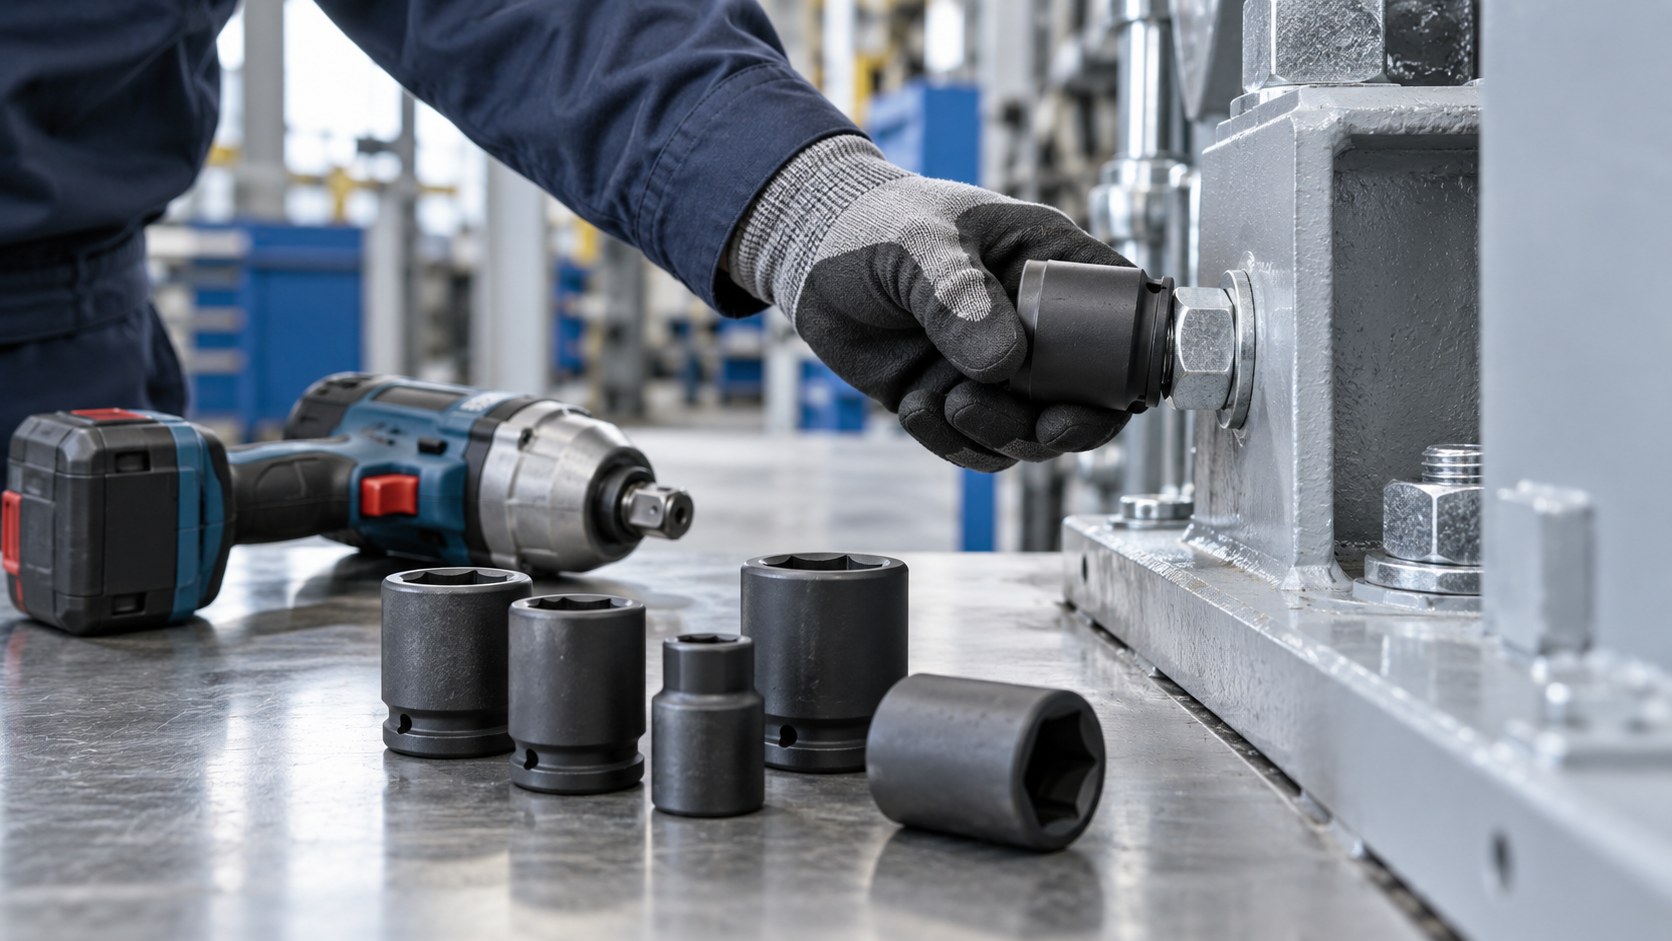
Illustrative composite image; not a product photo.
Short answer: Choose a torque socket based on the fastener type, size, drive square, tool, load level, and accessibility. Also, check the tool’s locking mechanism and inspect the socket for wear before use.
1 Does the cap fit on the fastener?
Check the actual wrench size and head shape, not just the nominal thread size. Compare a new fastener with a used one when the work area is contaminated or damaged. A cap with too much play will not grip as well; a cap that does not quite cover the head completely will transfer the load incorrectly. Also check whether the shape of the cap fits the available space and the requirements of the connection. Record the selected size in the work instructions so that the next shift does not have to guess again.
2 Does the drive fit the tool?
The drive square and the coupling must be compatible with the tool being used. An adapter may seem convenient, but it adds length and an extra connection point. Therefore, work with the supplier to determine whether that combination is suitable for the load and the range. For impact or high-torque applications, use a socket designed for that purpose; a standard hand socket is not necessarily a suitable alternative. Always follow the manufacturer’s instructions for the entire combination of tool, socket, and locking mechanism.
3 What is the actual tax burden?
The set or desired torque is not the only factor. Start-up behavior, repeated cycles, seized connections, and the chosen drive system all affect the load on the accessory. If in doubt, ask about the cap’s permitted applications. An extension or elbow joint can also alter the load and the working position. Take exceptional situations into account when making your selection; the set must remain usable even if the installation space in practice turns out to be smaller than shown in the drawing.
4 Is the connection easily accessible?
A deep cap may be necessary for protruding threads or a countersunk connection. Sometimes, however, a short cap is needed to work within the available space. Test the access with the actual part and the actual tool. Make sure the cap can engage fully and that the operator has enough space to maintain a stable grip. A test assembly on a representative workpiece will clarify this issue more quickly than a product photo alone.
5 How does the cap stay in place?
For the applications described above, a locking pin, ring, or other suitable system may be required to secure the cap to the tool. Check to ensure that these parts are present and in good condition. The method of attachment varies by tool and cap; do not mix and match parts based solely on a matching size. Include instructions for removal and reinstallation in the work instructions, especially when operators frequently switch between sizes.
Test the entire combination
A cap may seem suitable on its own, but combining it with an extension, adapter, and tools can become cumbersome in the workplace. Therefore, set up a test configuration using the actual fastener. Check the engagement before applying load, the angle at which the operator works, and whether the cap releases easily and safely after a cycle. Refer to the instructions for the retaining pin or ring, if applicable. If a cap consistently engages at an angle, examine the access and alignment rather than repeatedly installing a new one.
Record replacements and inventory
Store sockets in such a way that sizes remain identifiable and damaged ones do not end up back in the usable set. Note which types are intended for which workstation. If damage recurs, replacement is only a temporary solution; analyze the tool, the process, and the fastener together. Have an experienced employee evaluate the first cycle of a modified toolset. This is especially useful when the same size is used at different assembly stations under varying conditions.
A question that is often asked incorrectly
"Which cap fits the M20?" cannot be fully answered without knowing the head shape and wrench size. The thread diameter does not automatically determine which geometry the cap should engage. Therefore, please provide a drawing, photo, or complete product number and specify the tool. It is precisely this small bit of additional information that prevents an accessory that appears to fit from being rejected once it is installed on the machine.
An example of a tool change
An assembly team replaces a manual wrench with a power tool. The socket size remains the same, but the existing socket may not be suitable for the new load or mounting. Therefore, reassess the entire assembly and secure the new accessory. Check whether the operator can still fully seat the socket when the larger tool moves closer to the structure. This prevents the tool upgrade from introducing an unintended weak link.
What information is needed when requesting advice?
Send a photo of the head and the surrounding area, the complete fastener specifications, the tool type, and the desired work cycle. Indicate whether an adapter or extension is needed. This will allow the specialist to evaluate the combination rather than simply specifying a single socket size. Have the final selection confirmed at the worksite.
6 When should the cap be removed?
Before use, inspect for cracks, deformation, a worn-out drive, and a damaged mounting. Replace a damaged cap according to the workplace instructions. Note any recurring wear: it may indicate an incorrect size, poor alignment, or a tool selection that is not suitable for the application. A simple tool check at the start of a shift is more helpful than a discussion after a joint has been damaged.
We previously wrote about why accessories matter. These six checks will help you apply that knowledge to your specific installation. When seeking advice, please provide details about the fastener, the tools, the available space, and the work cycle. Then we can work together to determine the appropriate cap and installation method.
More information